In the previous post, we learnt about IDEs and Code editors. In this post, we will learn how to setup Replit for writing code in python.
Repltit Introduction
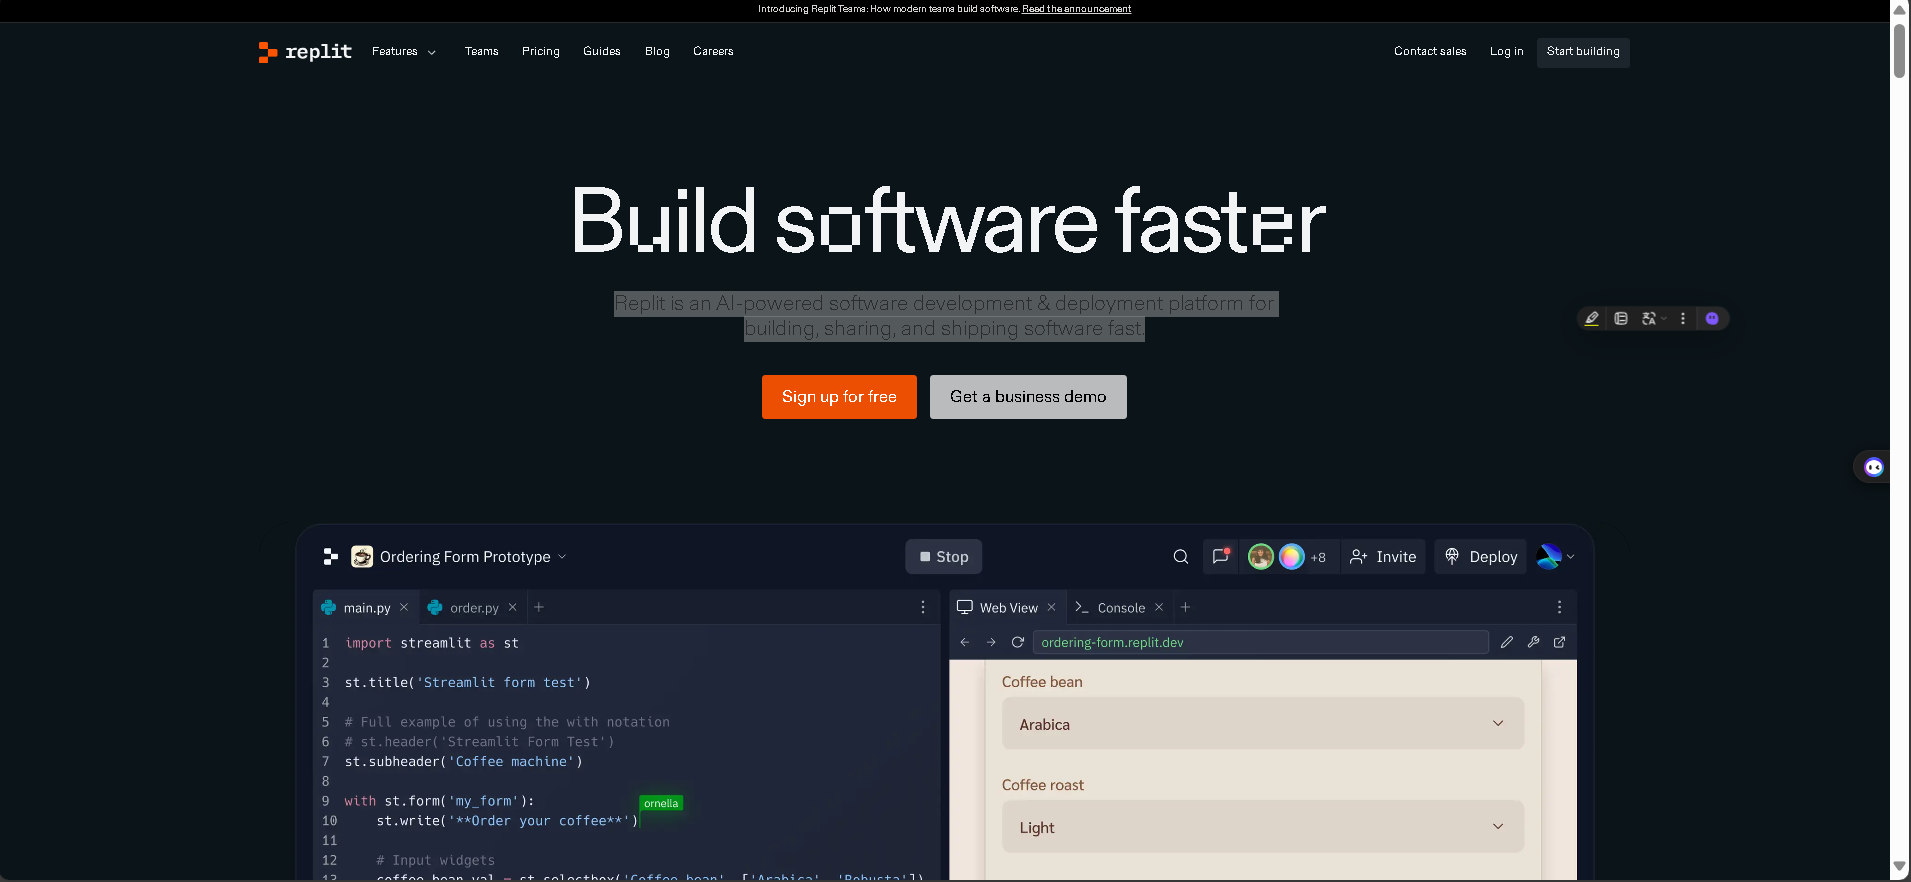
Replit is free online coding workspace that we can use to get started with python with minimal setup.
Key features
-
Online IDE: Replit provides an integrated development environment (IDE) that runs directly in our web browser. You don’t need to install anything locally; just visit the Replit website and start coding.
-
Python Support: Replit fully supports Python. We can create Python projects, write Python code, and execute it instantly. It’s a great way to practice Python concepts without worrying about setup.
-
Code Editor: Within Replit, there’s a code editor where we write your Python programs. It offers features like syntax highlighting, autocompletion, and error checking.
-
Collaboration: Replit allows real-time collaboration. You can invite friends or classmates to work on the same project simultaneously. It’s like Google Docs for coding!
-
Project Management: We can organize our Python projects using Replit’s workspace. Create folders, manage files, and keep everything tidy.
-
Run Code: Click the “Run” button, and the Python code executes instantly. You’ll see the output right there in the same window.
-
Learn by Doing: Replit encourages hands-on learning. Try out Python examples, experiment with code, and see immediate results.
Python with Replit
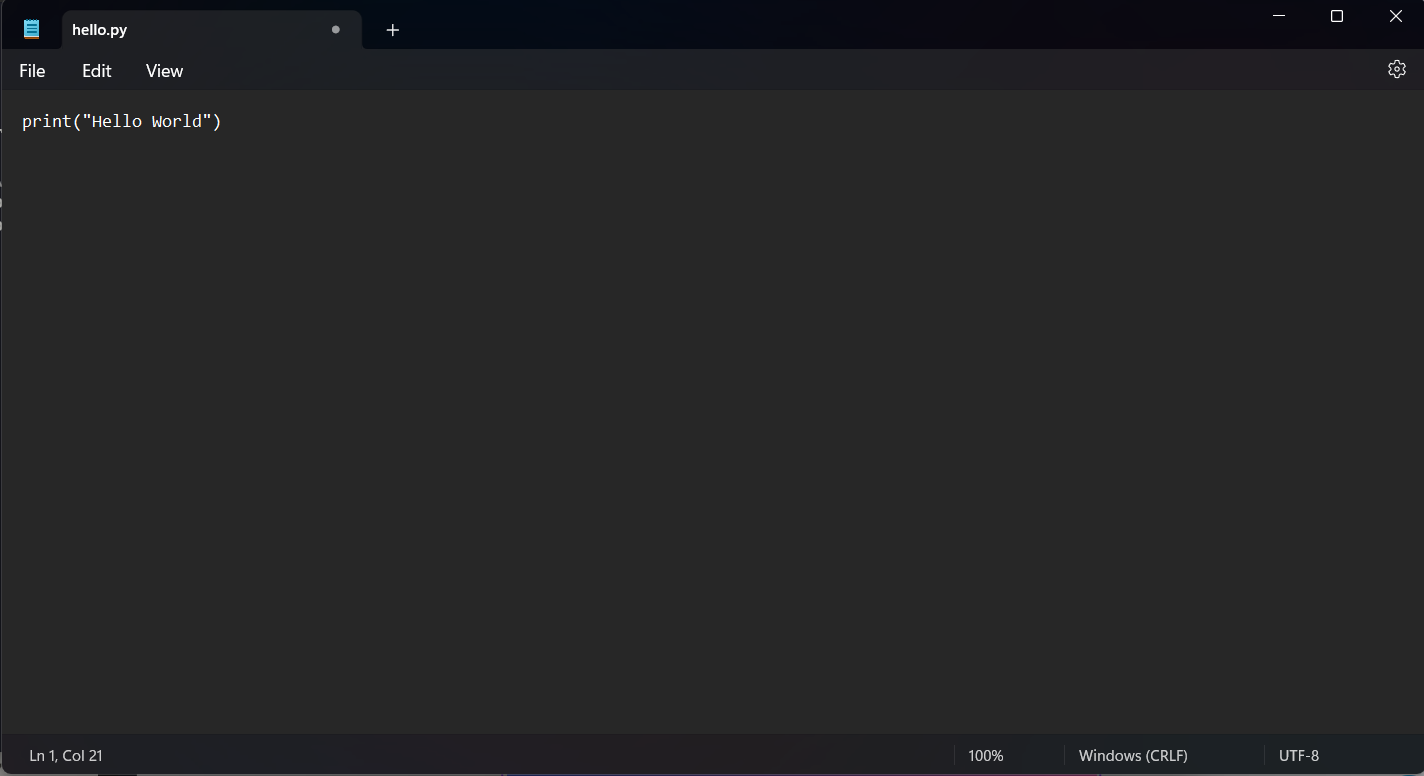
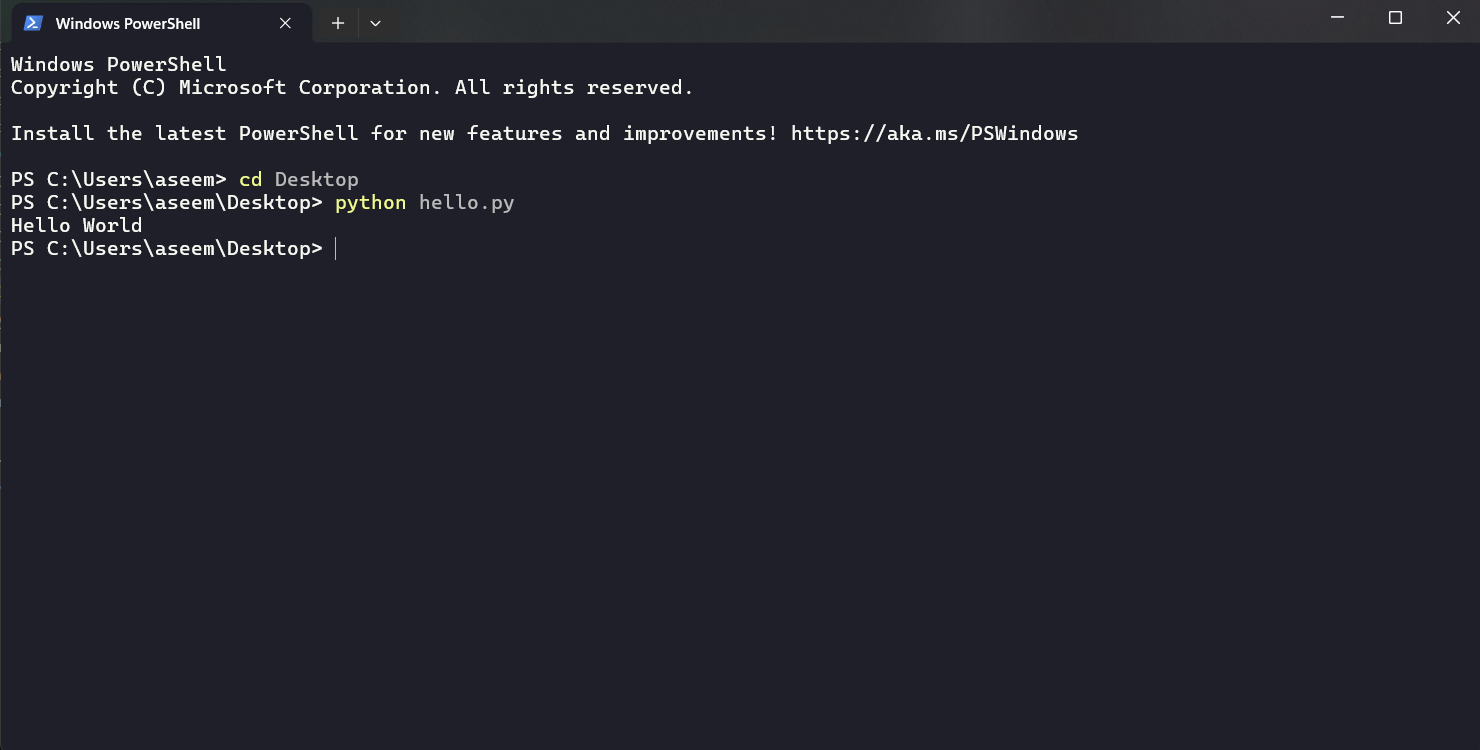
Remember our first python code we wrote? Well, let’s see how we cab rewrite it in replit.
-
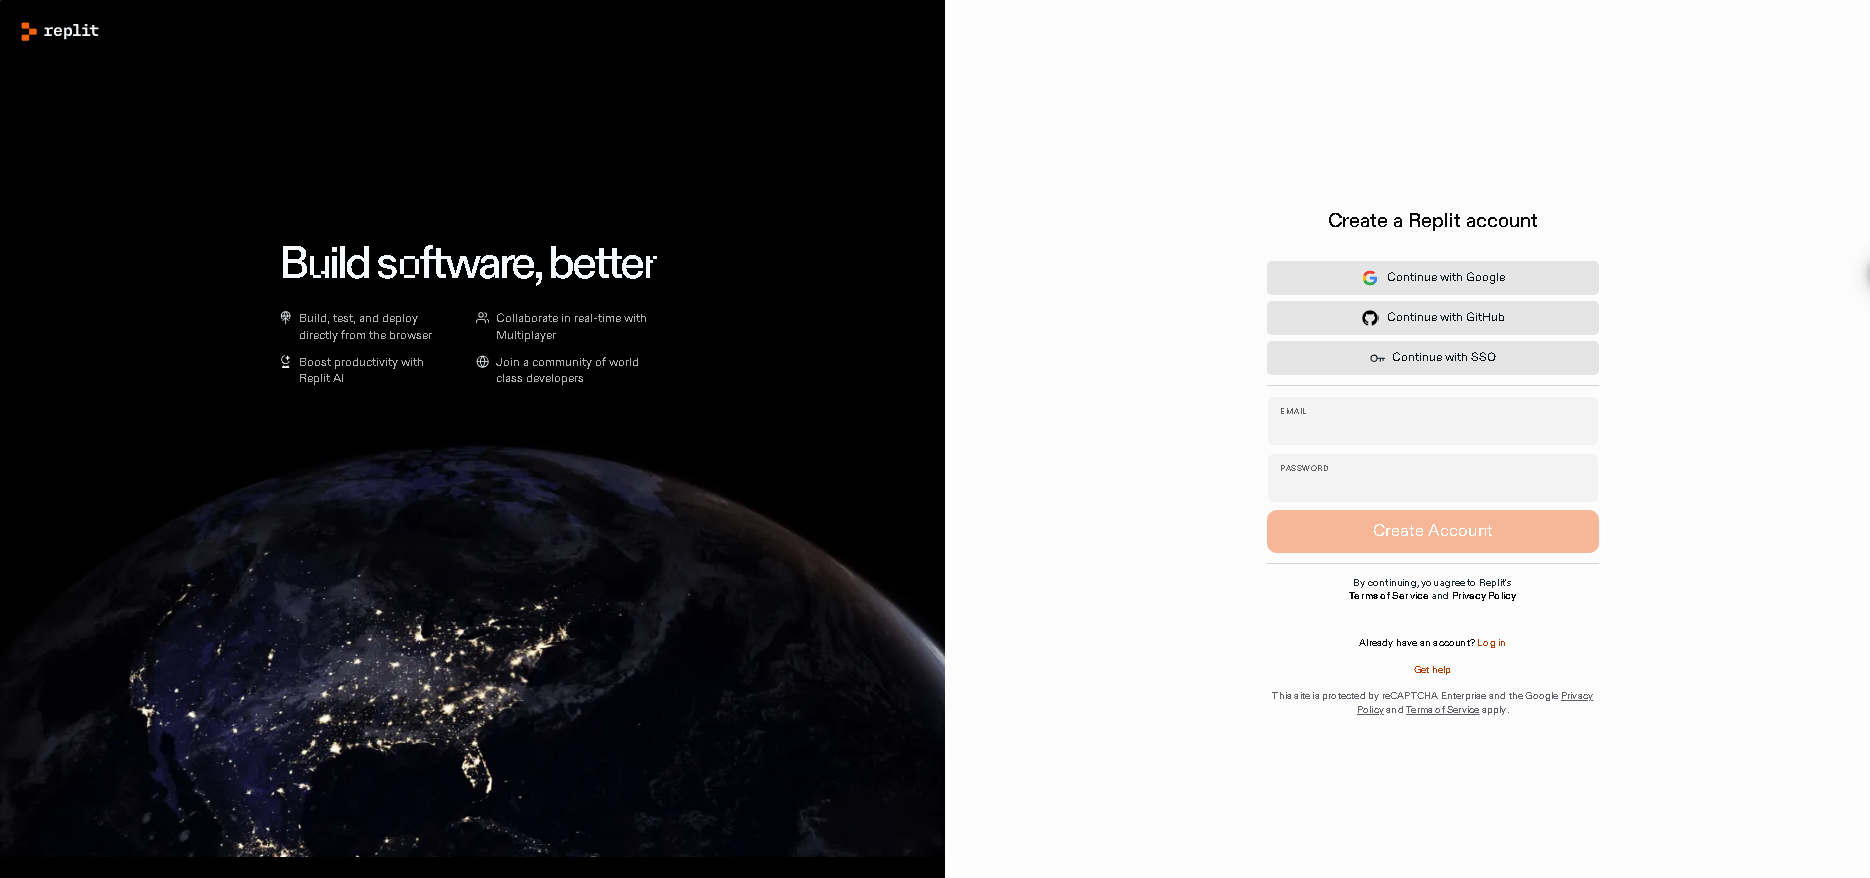
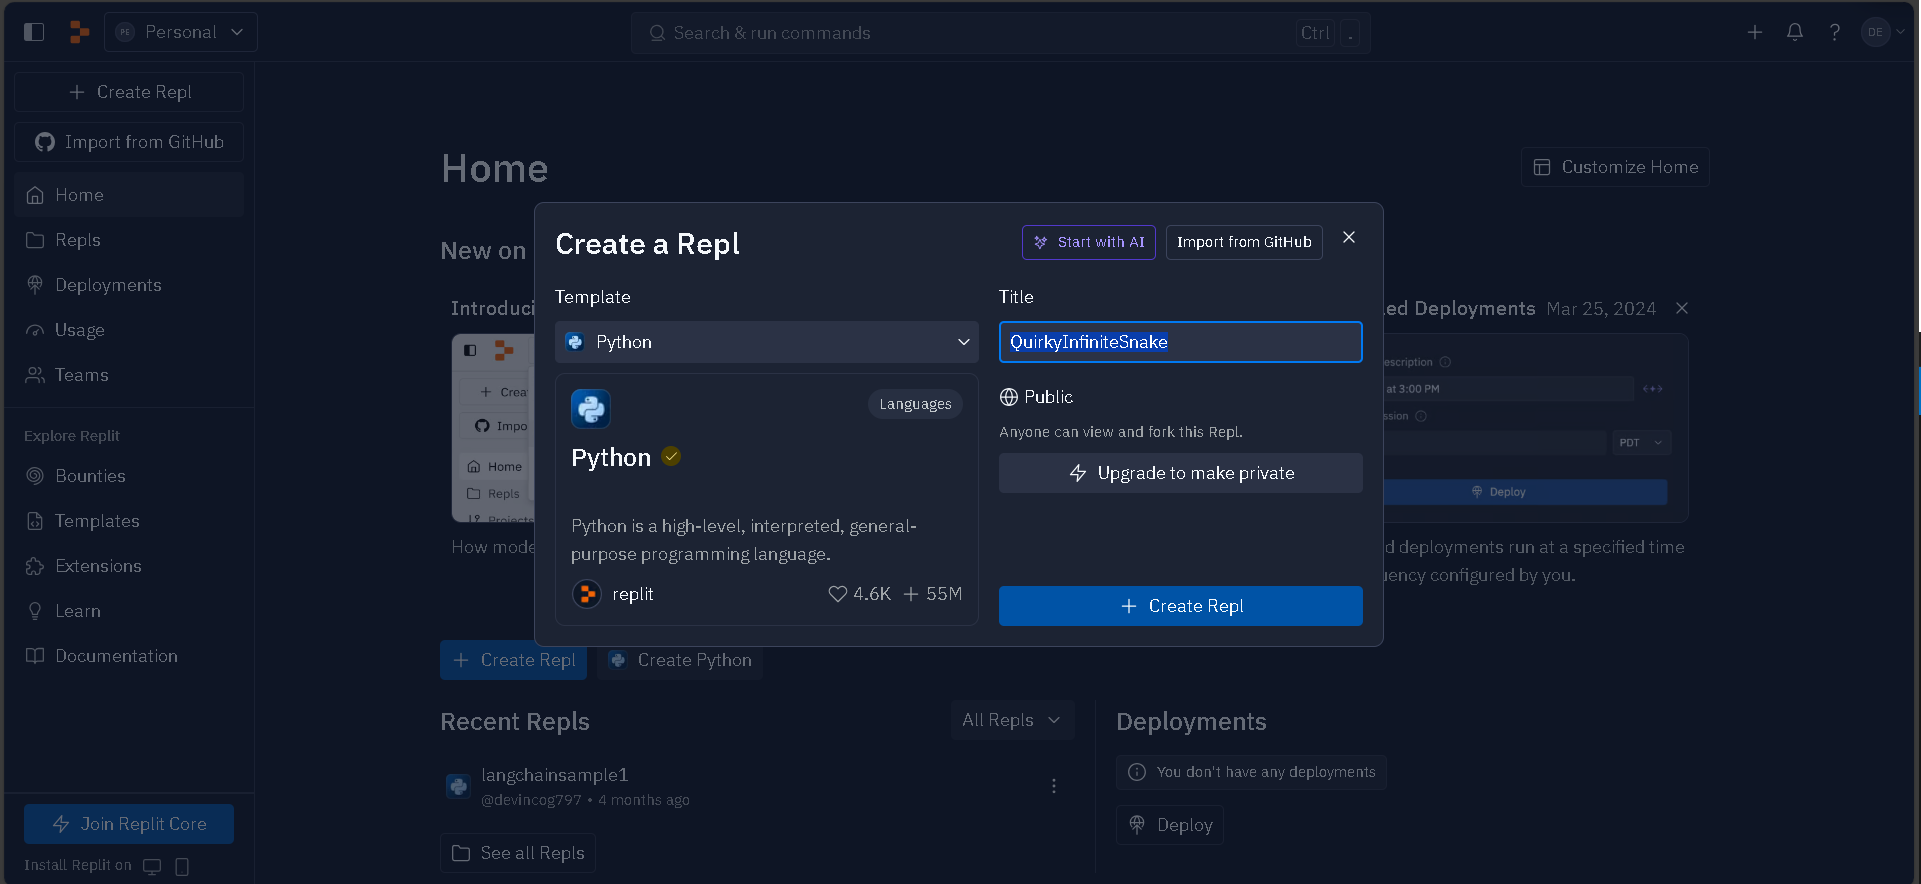
Step 1: Go to the replit website and sign up for an account.
-
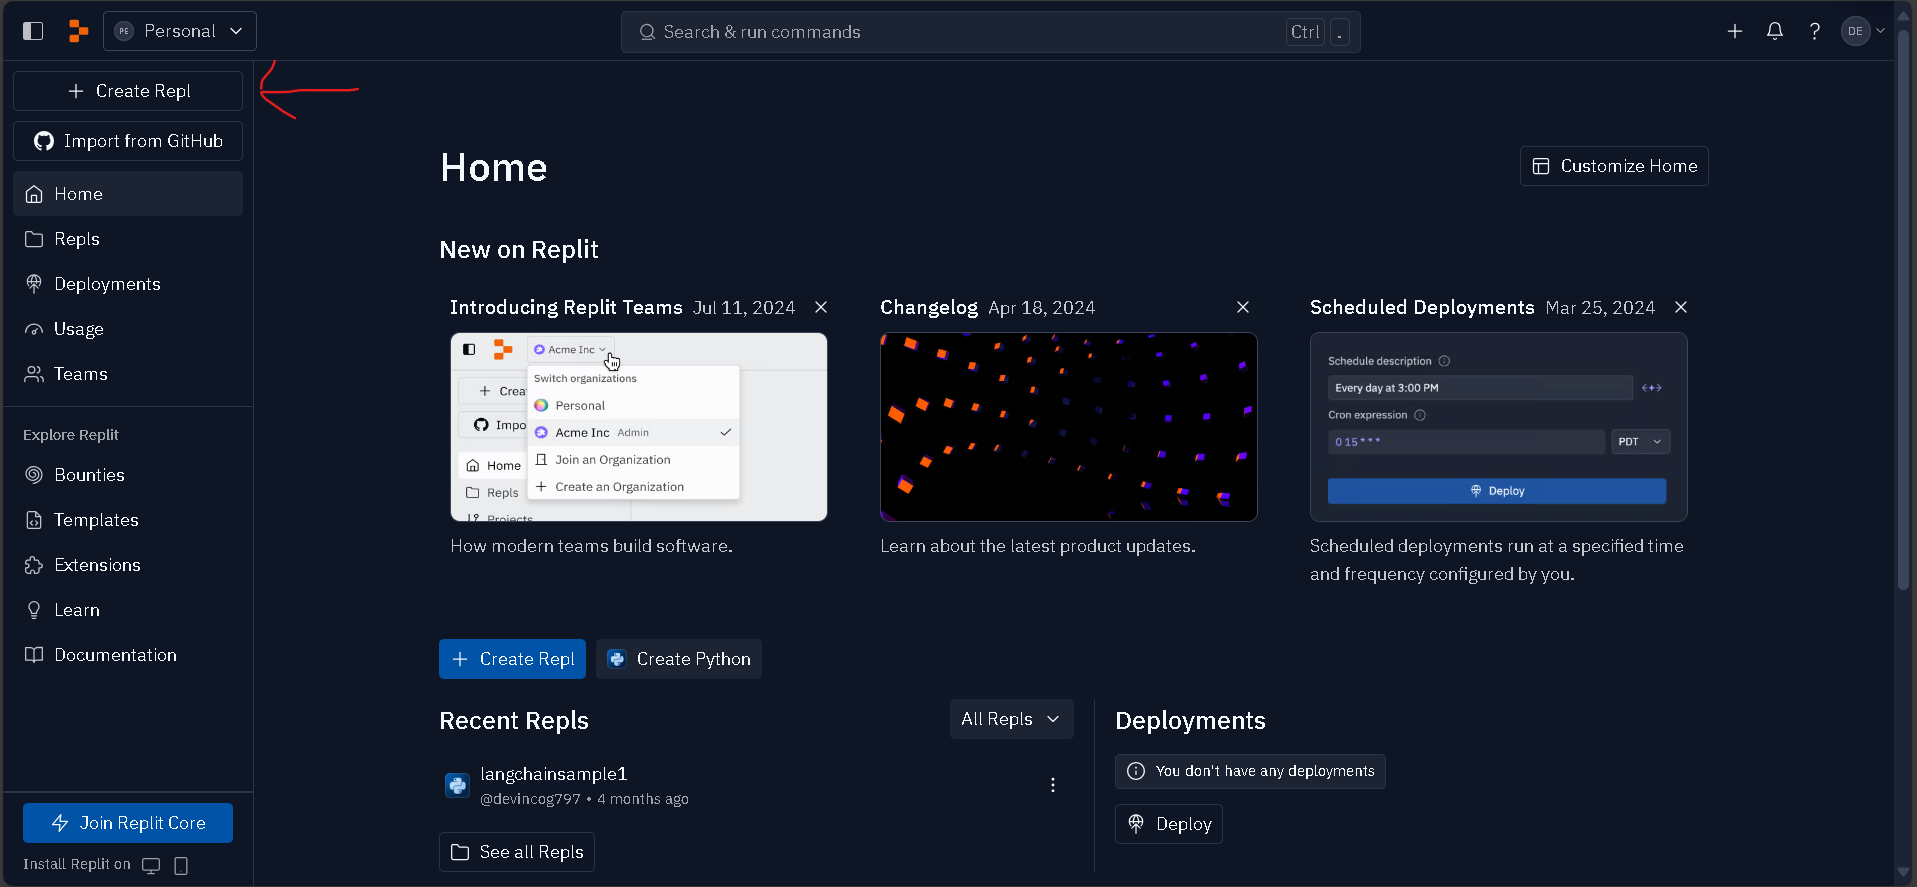
Step 2: Create a repl. Select python from the list of templates and Name your file. Then click “Create Repl”
-
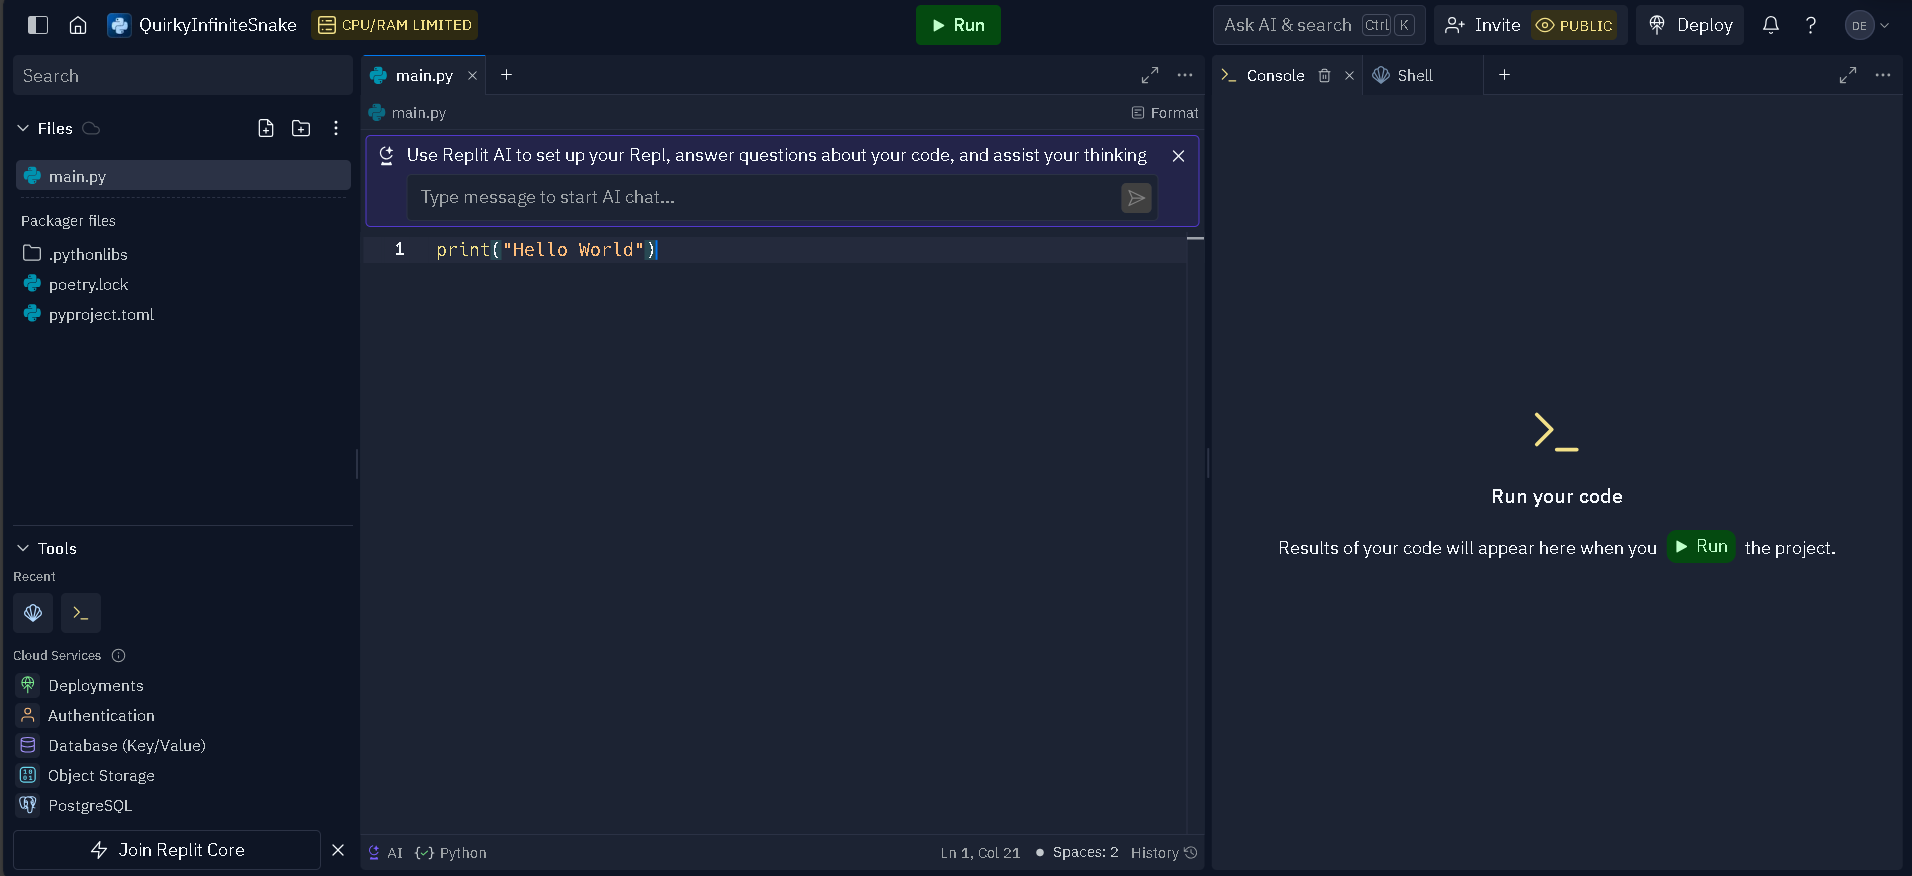
Step 3: Now we can write our program we wrote earlier(print(“Hello world”)) and click run.
Conclusion
There you go! We have rewritten our helo world pyhon program in replit. Now you can code in any bowser or download the replit app and continue coding anytime.
]]>